Tool holder G code
Had a request for the G code used in my homemade tool holder youtube video. The link is below. Please do a air cutting test.
| |
| tool blank |
| |
| |
|_________________|
/|\
| X0,Y0,Z0zero is at bottom center of the tool blank.
https://drive.google.com/folderview?id=0B3FU5DYe4-RXa0JsLVVhNzVEOWM&usp=sharing
Monday, February 17, 2014

Sunday, February 2, 2014
Slot car gears, dead PC and really cold weather.
Not much has been going on in the shop lately because it has been so F*&%$ cold. But a friend asked me to make some slot car pinion gears. I used to make them on a manual mill drill years ago. It was very time consuming. The shoulder and axle hole are still done manually,some day I will build a CNC lathe.
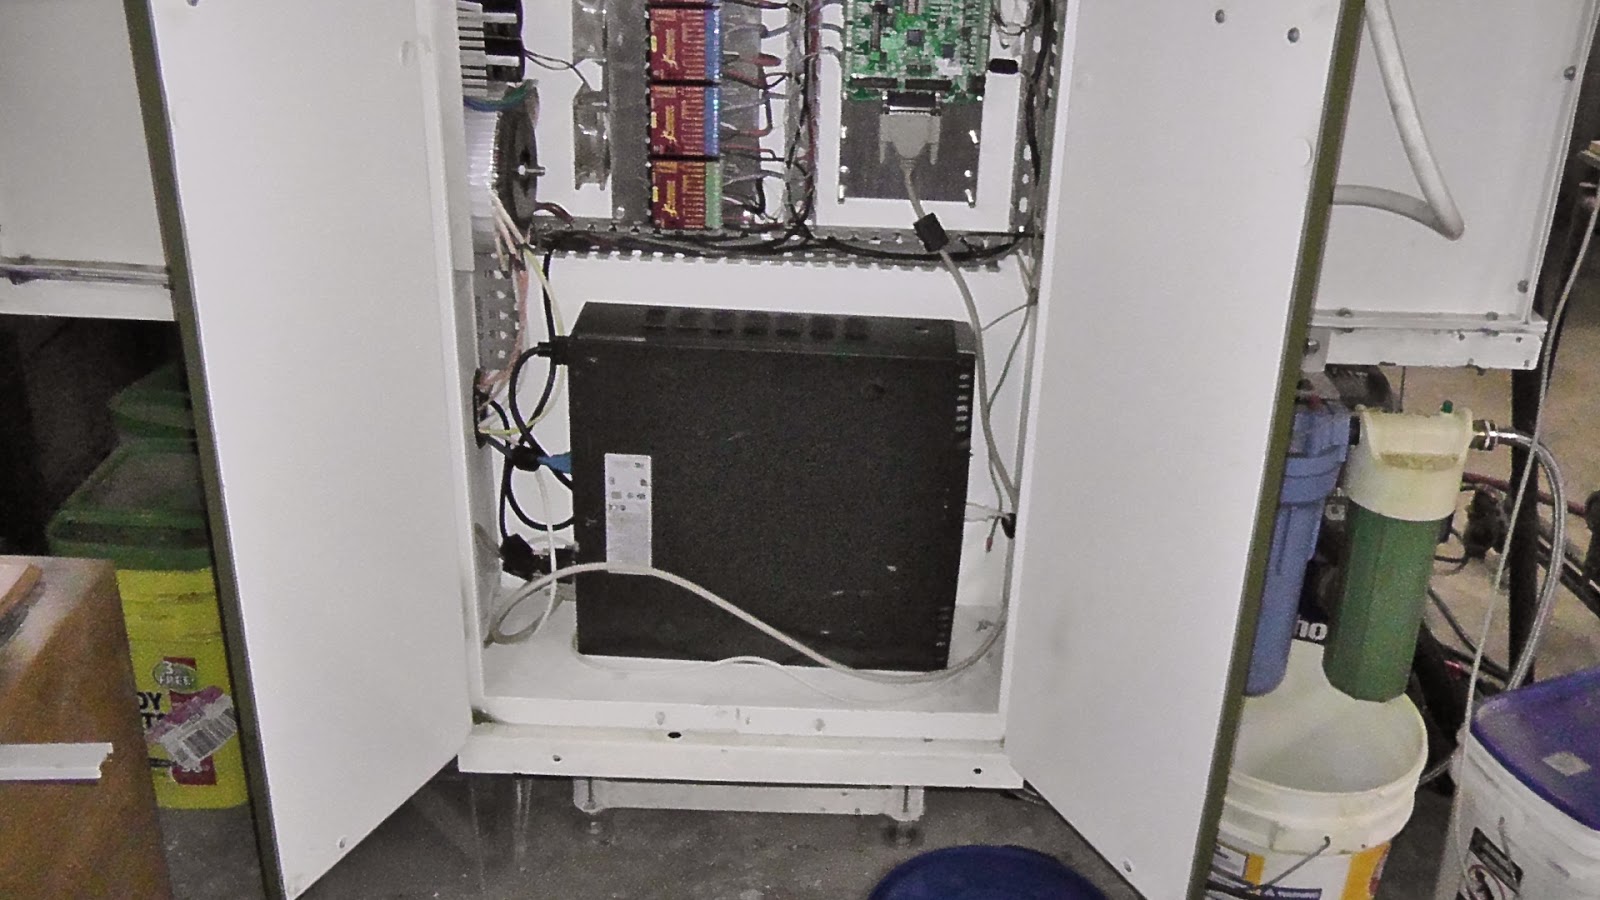
So I fired up the CNC mill and nothing happened, the 12 year old PC mother board died. I took the hard drive (was only three years old) and RAM out and installed it in an Compaq PC that i picked up along road for free. Installed Mach3 and screen sets, but my configuration save file was not up dated since the mill was built years ago. No settings were saved for the spindle,4th axis, tool change macros and screen settings. My advice is make sure you save a config file each time the mill is upgraded.
 |
| new PC, a little smaller than the old one |
 |
| old PC |

Monday, December 23, 2013
Firefly jar
Howdy folks,
I thought I would try out this blogging thing. Mostly to share and record all the things I make. Some work others fail but as long as I learn something new it does not matter.
My first blog project is a fire fly jar that i made for a Christmas gift. It uses two ATtiny 84 micro controllers. Will post a you tube video in a couple of days.
 |
| Finished jar |
.jpg) |
Circut board on bottom of lid |
 |
| Etched four boards at one time |
 |
| Diy programming shield for ATtiny 84,45 and mega 328 |
ISP program site
ATtiny site may not work
This is the code that came from the Arduino web site.
/*This sketch is intended to approximate the blinking of fireflies. It varies the delay between
blinks and varies the total blink time. I've used the random() function to vary which PWM output
is chosen for the next blink.
Hope you get some enjoyment out of it. I created it as a fun night light for my kids.
Chad Richardson -- Chad@ChadsCustomWood.net
*/
/* modified by J Crossen youtube channel 22BOZIDAR
Code to be used with Attiny 84 with 1MHz internal clock
For the light sensors I used a 3k photo resistor and a 4.7k resistor
5V-----------/\/\/\-------|--------A1 analog in
3k poto resistor |
|
GND----------/\/\/\--------|
4.7k resistor
Tested light sensor on Arduino UNO. Only leds on pins 5 and 6 will work.
Any values can be used
Use serial monitor to find correct Light_sens value and resistor values.
delete // to use serial on UNO. Add // when uploading to attiny 84 at 1MHZ, will not compile
*/
int value;
int pwmPin = 6; // light connected to digital pin 6-- I just chose an initial value
long time=0;
int period = 500;
int i = 0;
long blink_delay = 1000; // these must be declared as long due to the random() operation
long blink = 3;
long random_led = 55;
const byte pwmPins [] = {
5, 6,7,8 }; //attiny 84 pwm pins Use 3,5,6,9,10,11 on UNO
void setup()
{
//Serial.begin(9600); // initialize serial communication at 9600 bits per second:
} // use for testing Light_sens value
void loop()
{
int Light_sens = analogRead(A1); // analog read light sensor
//Serial.println(Light_sens); // print out the value you read,used to find Light_sens value
if (Light_sens <200)
{
choose_firefly();
fade();
blink_delay = random(500, 4001);
delay(blink_delay);
blink = random(2, 5);
}
}
void fade()
{
for(i=0; i<255;)
{
time = i;
value = abs(-127+127*cos(4*PI/period*i)); //the -127 value shifts the cosine curve negative with a zero initial value; abs shifts everything positive
analogWrite(pwmPin, value); // sets the value (range from 0 to 255)
delay(blink);
i++;
}
}
void choose_firefly()
{
pwmPin = pwmPins [random (0, 4)]; // use 0,6 on UNO
}
|
Subscribe to:
Posts (Atom)